06/4/22

OP-1 Field first thoughts

After owning the OG OP-1 for some years now, I know pretty well what I’d want in a new version for my specific use.
I’ve been using it like a DAW basically, where most of my music is done recording external synths from the line in, so what I wanted in a new OP-1 was improved audio quality (especially line input) in the broadest sense, no more clicks and pops and the same immediacy.

Physical aspect:

  • As you can see in the first part of the video, the keys make some noises depending on where you press. This didn’t happen in the original one and it annoys me a little. I think the type of material is different too (worse in my opinion), keybed feel is similar though.- Speaker is quite lowder and much more usable than the original.
  • I can’t see any reason to make the keys protrude over the aluminum frame. I can only think of less aluminum = cheaper to build. I wonder if this will give problems at some point, either dust or stuck keys.
  • Volume pot isn’t wobbly anymore.
  • The encoders are a little more clicky, but I find them as good/bad as the original ones.
  • Screen brightness is more or less the same for me. Resolution is obviously increased but what really helps most is that screen is now really on top.

Audio:

  • From the fast tests done until now, clicks and pops disappeared in the same conditions that caused them in the OG OP-1 (aka hard use of line input). I can’t say they have removed them completely, I just checked that they fixed the ones existing in the OG for my specific use.
  • New dimension synth and mother reverb sound very good.
  • Overall, audio quality has improved in more or less all aspects.

Software:

  • The sample zoom function is great to be precise. Maybe a little slow to move to a far position of the sample but maybe there’s some way to move faster.
  • I expect big firmware updates, regardless of fixes, there aren’t really many new things added. Stereo is a great addition but it’s not a new main function like more synth engines or more tracks.
  • I think they already prepared the GUI to handle longer/shorter tape durations, if not they wouldn’t show the 6min limit on each of the tape types (just guessing).

Battery:

  • Still haven’t charged it even once. After test video, playing a little and full song, current battery is 81%, so pretty good for now.

My first impression:

Does it offer enough to justify the price? No, for me the physical aspect is slightly worse. At this price, “ok” is not enough in any aspect, so I’m not super happy with this (keybed basically).
Do I regret buying it? No. Despite the physical aspect, the most important for me was to see an improvement in both audio input and better sound quality in general, and this has improved.
Is it still fast and inspiring? Yes. It would be a problem if any of the improvements made it slower to make music, so this hasn’t changed.
I still think the OG is amazing and you can get similar results with some extra effort to sort out the issues, but if this your main device to make music it might be worth it.

 

05/19/20

Expanding Chase Bliss Blooper pedal possibilities


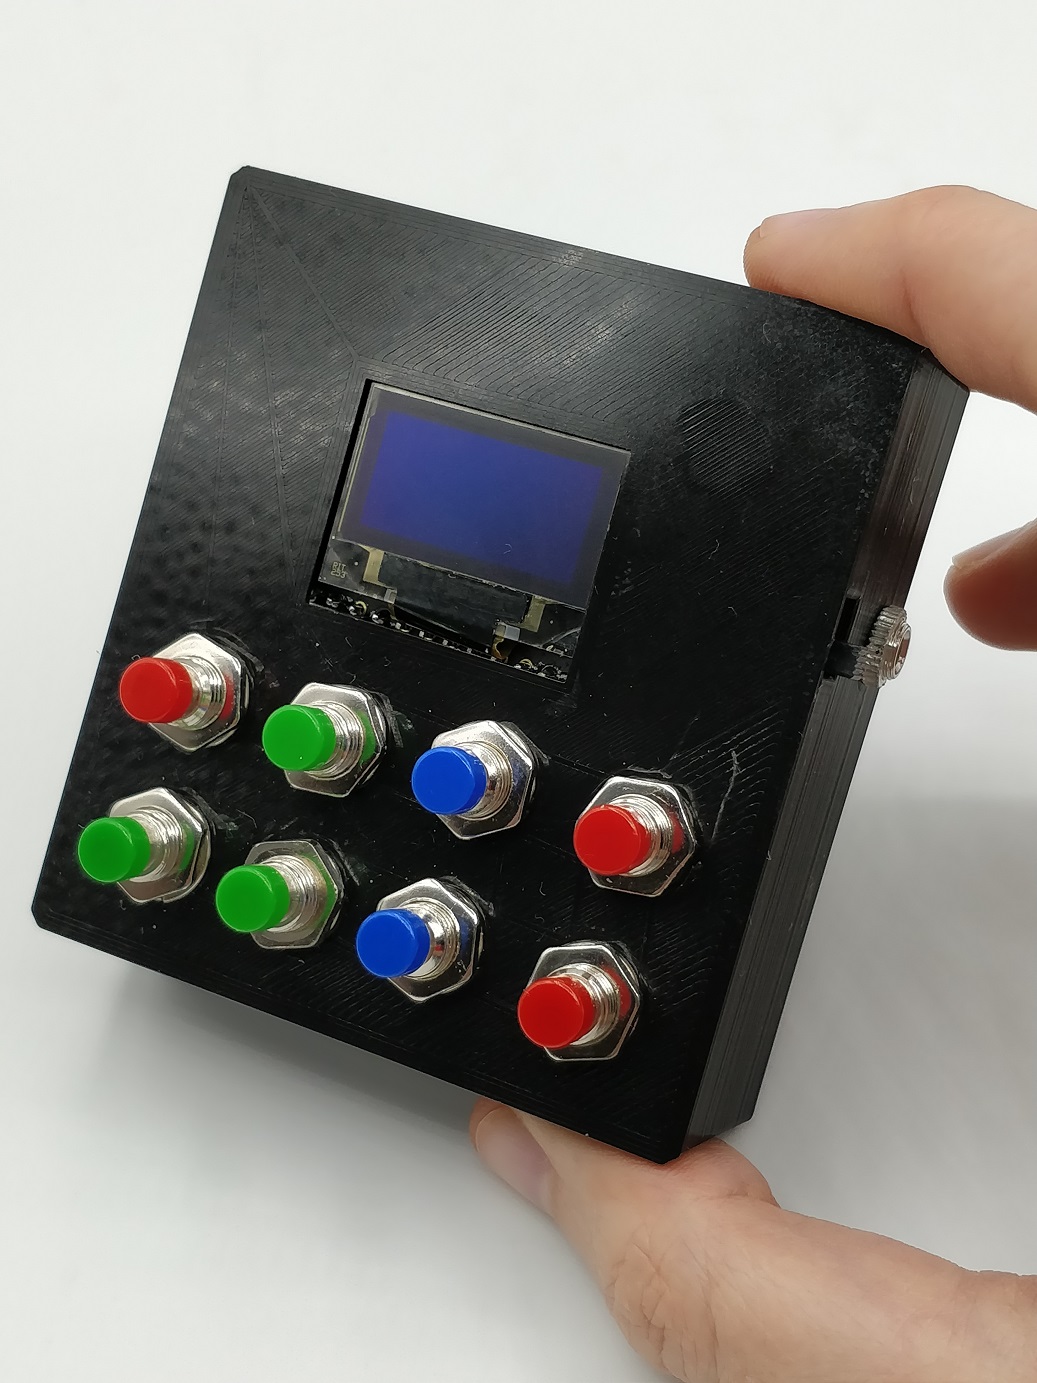
I recently got my Chase Bliss Blooper pedal and even before receiving it I started building a standalone device that would allow me to trigger momentary effects and anything else that would be nice to have, all through the midi jack, because I prefer to not use the PC most of the times and also this way would allow me to create any specific sequence of commands, like custom intervals or glide option similar to a Thermae.
Just imagine adding 3 more pots to this box: time, interval 1, interval 2 for example, to add rhythmic pitch-shifting intervals.

Disclaimer: Build this at your own risk, it may have worked for me but maybe I haven’t connected it the most secure way so keep this in mind.

The arduino code can also be useful to see the necessary midi sequences for the functions I already mentioned to apply them in other controllers.

So my first program adds:

  • Half speed record: Records a loop of double of the recorded time. Then, it automatically applies half speed in aditive mode so it fits perfectly in time once effect is applied.
  • Momentary octave down (with or without glide)
  • Momentary octave up (with or without glide)
  • Momentary Max stability – Specific delay time from 0ms to 32s

Midi CC messages of my new custom functions:

  • Custom delay:
    1. Clear loop: CC 7 = 1
    2. Rec: CC 1 = 1
    3. Wait the wanted time
    4. Play: CC 2 = 1
    5. Overdub: CC 3 = 1
  • Octave up (momentary effect, no glide*):
    • Press:
      1. Set Octave +1: CC 19 = 109 (or 14 to reverse)
      2. Enable Mod B: CC 31 = 1
    • Release:
      1. Disable Mod B: CC 31 = 1
  • Octave down (momentary effect, no glide*):
    • Press:
      1. Set octave -1: CC 19 = 79 (or 44 to reverse)
      2. Enable Mod B: CC 31 = 1
    • Release:
      1. Disable Mod B: CC 31 = 1
  • Max stability (momentary effect):
    • Press: CC 18 = 127 (max stability)
    • Release: CC 18 = 0 (no stability)
  • Double REC time:
    • 1st press (start recording):
      1. Rec: CC 1 = 1
    • 2nd press (stop recording):
      1. Wait the same amount of time that took from 1st press to 2nd.
      2. Stop: CC 4 = 1
      3. Set half speed: CC 19 = 79
      4. Enable Mod B*: CC 31 = 1
      5. Overdub: CC 3 = 1
      6. Wait TWICE the time in step 1.
      7. Stop: CC 4 = 1
      8. Disable Mod B: CC 31 = 1
      9. Play: CC 2 = 1

I suppose the modifier switch of mod A/B are already set in my case but it’s easy to add if necessary. Also I suppose we’re in additive mode to apply the half-speed effect.

The glide option is more tricky to explain, it’s better to check the code. I use mod A smooth speed to make the glide effect and once reached the glide time then disable mod A and enable mod B stepped speed to get a perfect octave.

Materials needed to create a the controller:

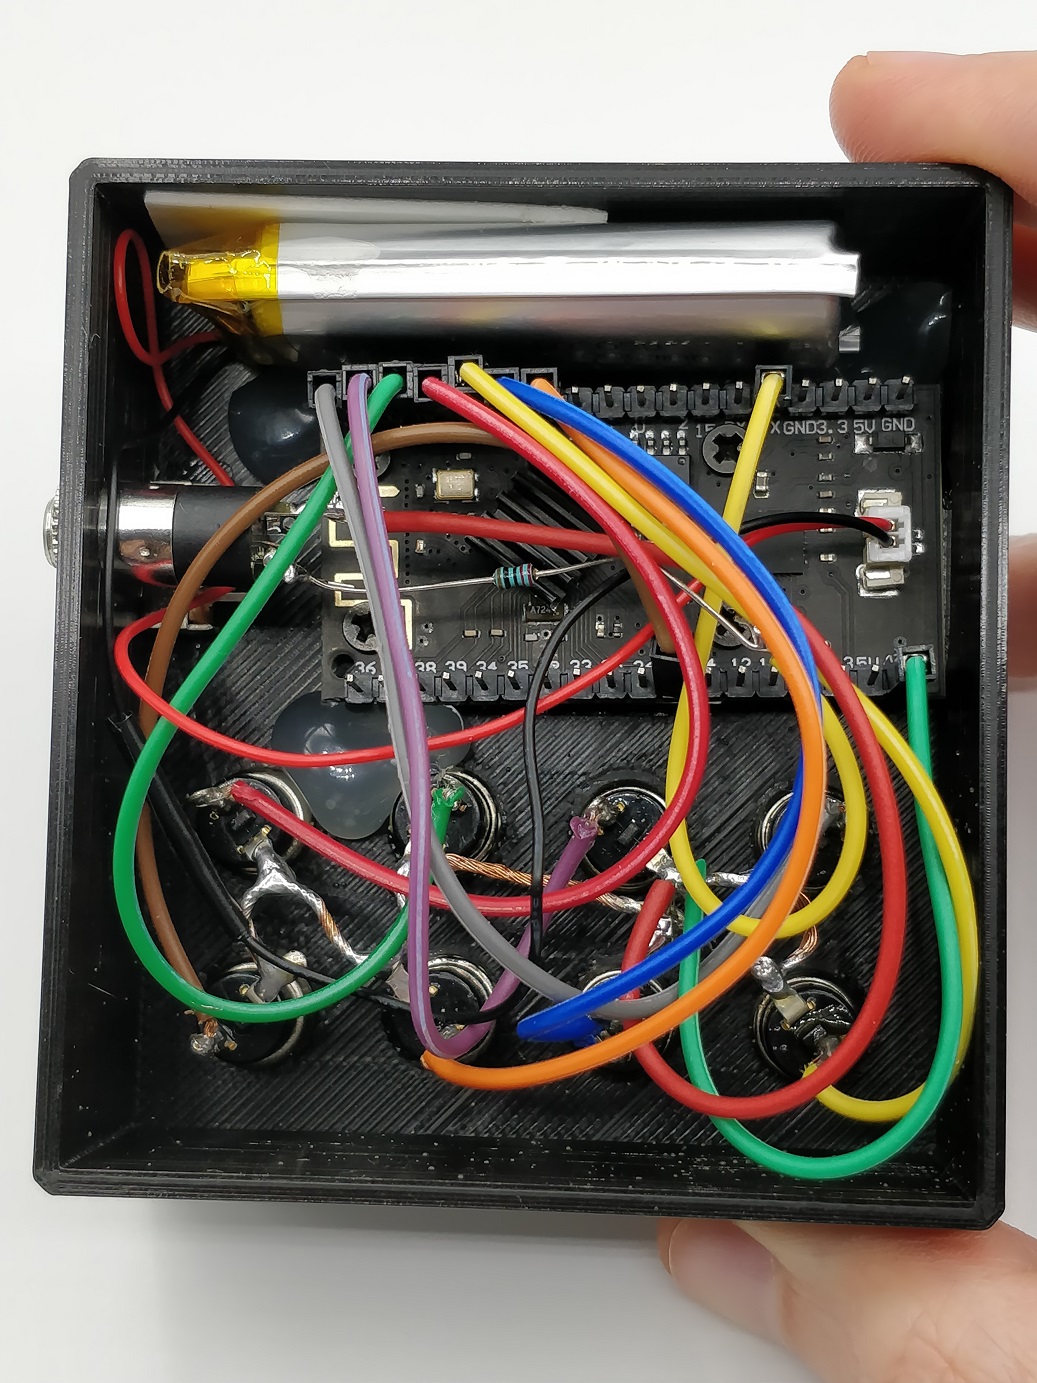
  • Arduino with serial pins like Arduino UNO or in my case this one: https://es.aliexpress.com/item/32824839148.html?spm=a2g0s.9042311.0.0.274263c0kSWu0n
    The screen is not necessary if you don’t mind not seeing the exact delay time or want to use other less specific options.
  • LiPo battery: I used this because the Arduino board already has a battery connector and the same board also works as a charger, but it can also be powered by microUSB with no problems.
  • Push buttons or other input components for the interface. I did the most simple interface with push buttons but it would be easily expanded with some pots using ADC converters like the MCP3008 via SPI protocol. I don’t even use pull-up resistors because arduino already allows me to use the INTERNAL_PULLUP in the input pins.
  • 3.5mm output jack, connected to the TX pin of the microcontroller via a 220ohm resistor

Midi Wiring:

Blooper has a TRS connection. For this controller, the Blooper sleeve pin will go to our 3.5mm sleeve, ring with ring and tip is not connected (it is used for additional footswitch). Remember to use the 220ohm resistor from the ring to the microcontroller TX pin.

Arduino code: https://elgaratge.com/download/blooper-expander/

Example:

Feel free to contact me on reddit / youtube if anything is not clear, if you want to share your version or if you have an idea for a useful function even you don’t know how to implement it.

https://youtube.com/efimer

https://www.reddit.com/r/blooper/comments/gma7mf/i_built_a_standalone_device_to_add_more_functions/